Thursday, March 31, 2011

Pet Week! Scrapbook Layouts

DAY 4
I'll be sharing some scrapbook pages with you today.  Be sure to scroll down to the following posts as I have 3 Free SVG files for you to use in your own pet scrapbooks.  You'll find pet bowls for a dog and a cat, a "Dog" heading and a cute little tiger cat face.  As always, I'd LOVE to see what you create with them.  Please send a picture or a link!
I did this page for Millie.  We live on a lake and my hubby rarely gets a chance to fish it.  One time Millie was with him when he landed one and she was totally fascinated by it.  She stood and watched it swim away and then later she was a bad girl!  She went down to the lake herself (which she NEVER does) and was standing on the shore still looking for it!
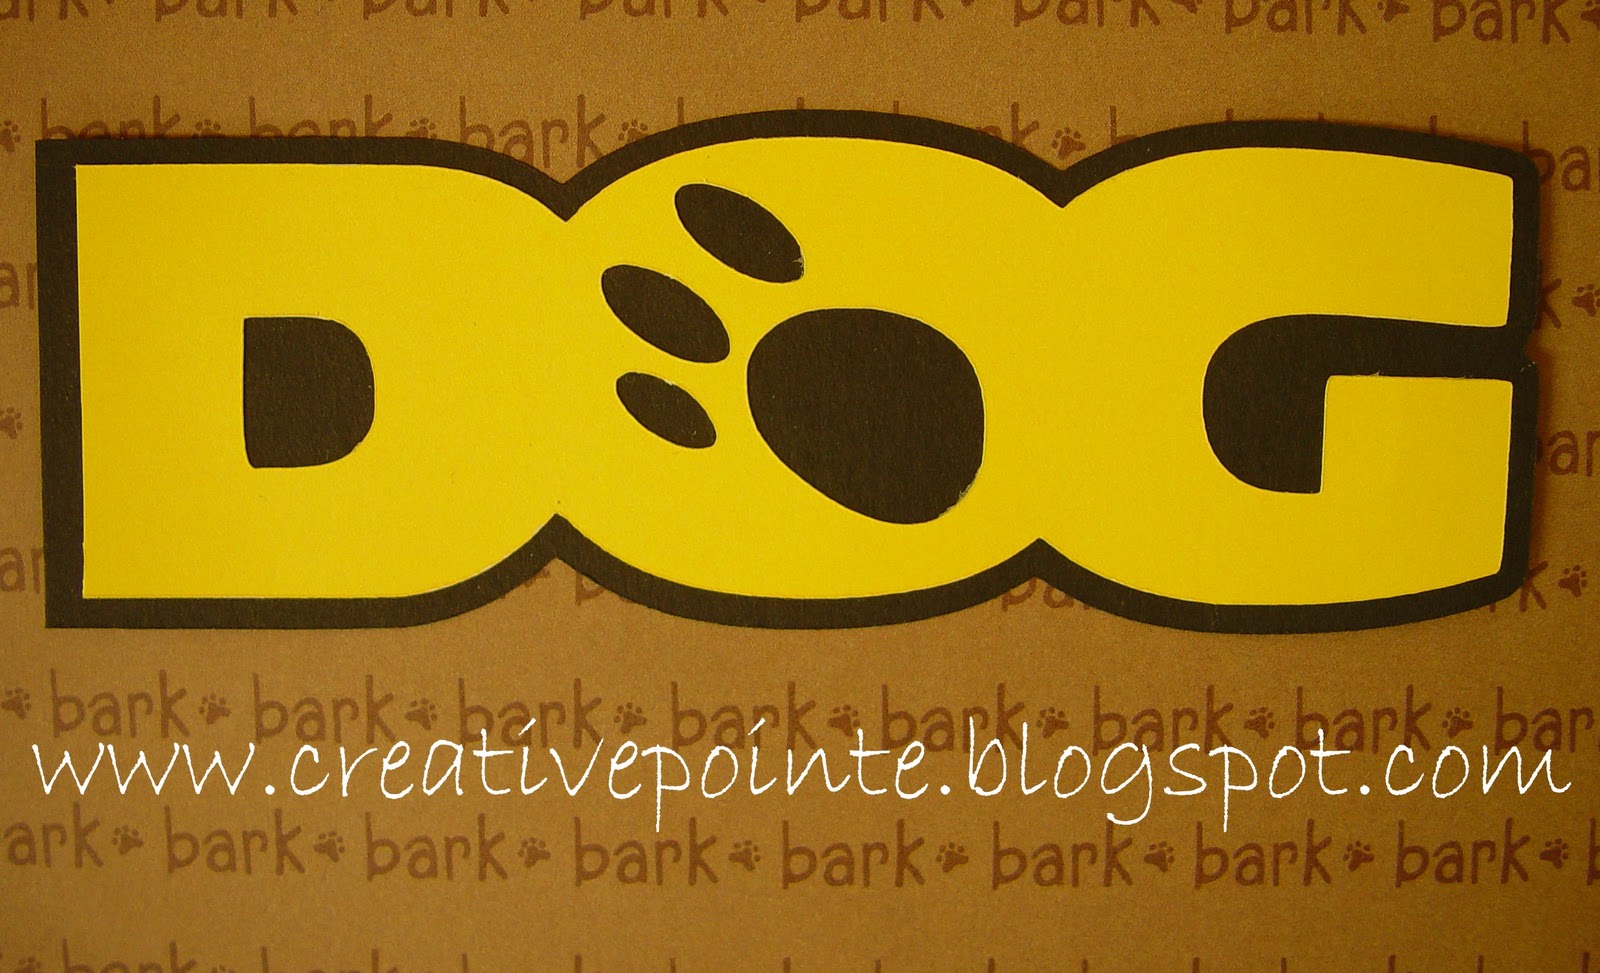
I turned the "F" into the handle of the fishing pole, which is a dowel with eye hooks added.  Then I ran thread down to the hook I made out of chipboard.  I cut the "o" in "Dog" (which was imprinted on the paper) to put the hook in it.
Louie will do anything for a biscuit and over the years I've dressed him up in many costumes.  He's won a few prizes for it too!  The pictures in the layout above were taken downstate when we had a beautiful yard with actual grass and flowers.  These pics of the "Bully Bee" are some of my favorites.  This is a very simple layout.  I punched out the flowers in pinks to match the photos and then used eyelets as the centers and to hold them on the page.  The ovals were cut with Coluzzles, which I don't think they make anymore.  Too bad, I love that tool for cutting pics!
I shared the picture of Louie in the lifejacket yesterday.  He LOVES to swim.  And as bullies can't swim unassisted (they sink due to their large chest and heads) we simply took a child's lifejacket and turned it backwards.  Works like a charm and much cheaper than a doggie lifejacket.  The bones were cut out with my sister's Cricut (before I had mine) and I didn't like the fact that they were so long!  Another reason why SCAL is so great...you can get exactly what you want.  I stamped the heading and the little bulldog in the center is a stamp. 

Do you have a scrapbook layout of YOUR pet?  We want to see it!  
Do you have a funny or heart touching story about your pet?  We want to read it!
Please go to this POST for all the details and a chance to win a couple of prizes.

And don't forget to go to the next post for your SVG files!

Pet Week: SVG File Pet Bowls

The file has both the CAT and DOG versions on it. 
Sorry, these SVGs are no longer free.  You may purchase them as part of a set.  
DOG bowl HERE.

Pet Week! SVG File: Dog Heading

This would be a great page heading. 
Sorry, this file is no longer available for free.  
You may purchase it as part of a set HERE.

Pet Week! SVG File: Tiger Cat Face


This file has two layers.  I cut the bottom layer in brown and then used Sharpies to color in the eyes and nose.  I added the whiskers and eyebrows with a brown pen and put the eye and nose glints in with a white gel pen.  I also used Vintage Photo Distress Ink around the edges of the yellow layer.
Get the file HERE.

Wednesday, March 30, 2011

Pet Week! SVG File: Bulldog

DAY 3
HAPPY BIRTHDAY TO LOUIE---12 YEARS OLD TODAY!

Louie truly is my "heart" dog.  I lost my first bulldog Mack in very sad circumstances and I was heartbroken for months.  My hubby took me to the dog show in Detroit the following spring especially to see the bulldogs.  I took one look at all those smooshy faces and burst into tears because I missed my Mack so much.  A wonderful lady (who was showing her dogs) took pity on me and let me love on her bullies.  Well, long story short, she had puppies due the next month and promised I could have my pick.  I was thrilled!  I got to visit the pups when they were only days old.  So cute!!  Then another visit to pick one out a month or so before they were ready to go to their homes.  I THOUGHT I wanted a certain colored pup, but this all white guy and I connected and I just knew...he was the one!   We've been together ever since.  He's my boy and I love him so much.  I know our time together is getting short but I will enjoy each and every day the Lord gives me with him.
Yesterday I had to take Louie into the vet.  We've discovered that he has a heart issue and are working to drain his lungs.  I'm hopeful that medications will solve the problem but would sure appreciate your prayers for his recovery.
The file above is the very first cut file I think I made.  I actually drew him and then traced in SCAL.  I now have it in SVG format and you can get it HERE.
I took that same design and painted it on mousepads (shown below). 
I donated the mousepads to DETROIT BULLDOG RESCUE as a fund raiser.
They are an awesome group of very dedicated volunteers who would appreciate your support.

Do you have a scrapbook layout of YOUR pet?  We want to see it!  
Do you have a funny or heart touching story about your pet?  We want to read it!
Please go to this POST for all the details and a chance to win a couple of prizes.

Tuesday, March 29, 2011

Pet Week! SVG File: Cat & CATS Word Book

DAY 2
CELEBRATING OUR WONDERFUL PETS.
I don't want the cat lovers to feel left out!  Today I have pictures of the word book I just made for my sister's birthday.  She has two cats.  One is twelve years old and has some serious crankiness issues.  I call him "El Diablo".  The other is almost a year old.  He was a rescue and is such a sweetie.  In fact I believe he is turning "the evil one" around!
Don't forget to share a photo of your pet related project and/or leave a comment about your pet. 
Details at bottom of post.
Above is the cover of the book.  I cut the pages out of cereal boxes...two per page and then glued them together.  I also double cut and glued the individual letters so that they stand out from the pages.  I used all "cat-themed" scrapbook paper on the pages with coordinating solids for the letters.  I distressed everything using Vintage Photo Distress Ink and bound the book with my Cinch.

Photo above shows pages two and three.  The "C" frames an oval for a picture.  The "kitty" tag is from a file I collected.  (Sorry I don't know from who.  If you let me know, I'll post your blog address)
Pages four and five have old Scrabble tiles spelling out the photo captions.

Page 6 has a cut file of a cat that you can get below.  I also created a little pocket to hold a journal tag. 
For page seven I used one of my Tim Holtz memo pins and a "Love" ticket.  I stamped the paws on the red cardstock with Versamark.

The back page has another full cut of the cat file that you can get HERE.

WORD BOOK FILE
Like the CATS Word Book?   I will send you the file for a $3 donation. 
All proceeds from that donation will be given to my local animal shelter. 
If you'd like the file please click on the "Donate" button below. 
Once I receive your payment I will email the file to you.


Do you have a scrapbook layout of YOUR pet?  We want to see it!  
Do you have a funny or heart touching story about your pet?  We want to read it!
Please go to this POST for all the details and a chance to win a couple of prizes.

I can't tell you how much I'm enjoying reading all the comments about your pets.  Some make me smile and some give me a lump in my throat but they are all great...keep posting them please!

Monday, March 28, 2011

Pet Week! SVG File: Dog House

"Pets Are Not Our Whole Life, But They Make Our Lives Whole"
I've always loved that saying because to me, my life has a "hole" in it if I don't have a dog sharing it.  I know many of you feel the same way so I wanted to take a week and celebrate the wonderful pets in our lives.
I chose this week because on Wednesday my beloved Louie (shown above to the right) will be 12 years old.  For a bulldog, reaching that advanced age is something to celebrate!  Both my dogs are elderly...Millie (shown above to the left) has long lost her face spot...but God willing they'll be with me for a little while yet.

The very first scrapbooks I ever did were for Louie and Millie.  I bought three similar scrapbooks (one is for my first bulldog--Mack) and using metal letters, glued their names to the front.  I recently completed Mack's book.  Here is a page from it....
It's a simple layout but I like the red and the black.  I made the doghouse from an SVG file that you can now purchase as part of a "Dog Elements" set HERE.  I cut the letters to his name from white cardstock and glued to the doghouse.

Do you have a scrapbook layout of YOUR pet?  We want to see it!  
Do you have a funny or heart touching story about your pet?  We want to read it!
Please go to this POST for all the details and a chance to win a couple of prizes.

Sunday, March 27, 2011

SVG File: Rejoice

It's the last Sunday in March! 
Easter is not that far away so if you still need some ideas for cards, here is today's sample.  I embossed the cardstock and then turned it around and "painted" the debossed side with Distress Inks and the water pen.  Added the "REJOICE" cut file, and a thin green ribbon.  Simple yet elegant!
***EDIT--Sorry, this file is no longer available for free.
You may purchase it as part of this set HERE.


Friday, March 25, 2011

SVG: Leaping Bunny

Here's a quick and cute little bunny card.  I cut the bunny out of white card stock and then ran it through the Embossing Boutique.  I used pink chalk over the embossed design and gave the tail some dimension with white Stickles.  Used Distress Ink on the edges of the card and punched the border design on matching solid pink paper.  I used a white gel pen to add the stitches and then finished it with pink ribbon. 
**Sorry, this file is no longer available for free.  

You can purchase it as part of this set HERE.

Thursday, March 24, 2011

Sharing: My Studio

Since I had to set up my studio for "Creative Chaos 2011" (which is my annual Girls Weekend scrapping event--details to come), I thought I'd take some pics while it was clean!  In 2000 we built the house as our "weekend/retirement" home and I made sure that a future studio was built into the plans.  After just three years we decided we didn't want to wait until we retired to be able to live "up north" so we moved up here permanently.  The first thing we did was finish the studio!  Since Michigan can be gloomy, I went with bright colors for the walls and white cabinets.  I love how cheery it is but the colors are not digital camera friendly.
Let's start the tour at what I call "command central".  I have my TV, printer, light box, projector and Cricut in this area.  And you can see Millie's cubby hole.  On top of the ribbon organizer are some of my bulldog collectibles.  I often refer to this room as my "Studio/Bulldog Museum"!  In the left of the picture you'll see the lower desk area.  This is right in front of the window and where I sit to paint. 
Above is Millie, my faithful studio companion.  She'll hang out with me all day.  Louie prefers the family room to snooze but comes in every now and then to see if I'm handing out biscuits. 
Here's a further back shot .  To the left of my painting desk you can see the paint rack and a desk.  Above the desk is a bulletin board filled with....bulldog pictures!  Well those, and all my painting convention badges.  Above it is another shelf full of bulldog collectibles, as shown below.
Next to the desk I have a shelf set up for books and magazines.  On the top of the shelf....more bulldogs! 
Next to this shelf is the door to my sink area.  I also use this room to store my saws and drills.  They are stored to the right of the sink...but who wants to look at that?  I cropped them out!
Moving counter clockwise from the sink/storage room  is another row of cabinets and a counter.  A shelf above holds painting projects that I've cut out of magazines and put into sleeves then put into notebooks according to theme.  To the left of the counters you can see the rack I've had to buy for my scrapping papers and drawers for my clear stamps.  That's what happens when you pick up another hobby!
This is the back of the studio.  I have a HUGE closet (4 feet deep) that is filled!  A lot of it is displays from when I did craft shows, but I also have totes filled with surfaces to paint and racks of supplies.  I cleaned it out recently and realized that I am a craft hoarder.  Oh the shame!  Good thing that doesn't last once you close the doors... 
Below is a shot of the last area of the studio.  I set up embossing and cutting stations for Creative Chaos.  Normally in that area I have my treadmill.  No exercising during Girls Weekend though!  I also reconfigure the tables in the center of the room depending on how many people are coming.  Even though only four places are set up here, I can seat seven with plenty of room to work.
So there you have it...a tour of my Studio/Bulldog Museum.  I hope you enjoyed your visit!

Tuesday, March 22, 2011

SVG File: Easter Heading


This is a simple Easter Heading that would be good for a scrapbook layout or a card. 
As always, please let me know when you post your creations using my files. 
 I'd love to feature a picture and/or your blog link here!

You can get the file HERE.
***EDIT--Sorry, this file is no longer available for free.
You may purchase it as part of this set HERE.

Sunday, March 20, 2011

SVG File: Cross with Banner

It's Sunday...time for another Cross SVG file!  With this one, I used watercolor pencils to shade the banner and hand wrote the "He Is Risen" with a pen.
Get the file HERE.
***EDIT---Sorry, file is no longer available free. 
You can purchase as part of this set HERE.

Friday, March 18, 2011

Technique: Embossing & Painting with Ink

If you remember my post from a few weeks ago, I recently took the "Painted Petals" class at Archiver's.  It was very enjoyable and I played around with the techniques so I could share with all of you.  The first technique is "Embossing & Painting with Ink"  First of all, you need the right stamps for this technique.  Unfortunately the class was on the last day of my "Creative Weekend" after I'd already shopped all weekend, so I do not have the best possible stamps for this technique.  But I made do with what I had! 
The two stamps on the left have a lot of "negative" area.  Those type of stamps are a good choice for one of the ways to paint with ink.  The stamp on the right has a lot of outlined areas which is the other good choice for this technique.
Here's what you need:
--Stamps
--White cardstock
--Embossing Ink
--Distress Ink (your choice of colors)
--Zing Embossing powder (white)
--Heat gun
--Water brush
--Craft mat (optional)
1.  Using Embossing Ink, stamp your image on cardstock.  Sprinkle on EP and heat with gun until embossed.  (NOTE:   I tried other embossing powder brands and they did not work as well as Zing for this technique)
2. Using your craft mat as a palette, press your Distress Inks directly on it (if you don't have a mat, use a piece of clear packaging or wax paper).  Then using your filled water brush, dip into the ink and brush onto the areas where there is no embossing powder.  Use more water for a lighter color.  If color not dark enough, pick up more ink with the brush and go over.
As you can see in the example above, the EP makes it quick and easy to put the color down neatly.  If you used a more detailed stamp, like on the card I did at Archivers (shown below) this "watercolor" effect would look like you spent a lot of time on the design.  Here's another example:
Here's the card I did at Archiver's:
I'm on the look out for more stamps with a larger negative image.  I'd stayed away from them before because I really didn't like the look of a lot of ink.  But when you use embossing as the negative space, it really changes how the stamped image looks. 
Here is the example using the "lined" stamp:
The raised portion of the embossing makes it so easy to "stay in the lines" and whip it out really fast.  Varying the intensity of the ink color adds interest. 
This is what I did at Archivers:
This stamp had a nice blend of negative space and lines to be painted in.  Unfortunately they were sold out of them at the store.  Now look in your stamp stash and see what you have that will work with this technique!