

Here's a "cool" project to turn a glass icicle ornament into a sparkly snowman!
Supplies:
-Glass ornament (a box of these ornaments was found at a garage sale. Most craft stores should carry something similar.
-Black cardstock-3" x 4"
-Red glitter ribbon- 2.5" length
-Black satin ribbon- .25" x 6"
-Orange clay (I used Premo) or a premade snowman nose (can be found at craft stores)
-Round punches- 1 1/2", 3/4", 3 mm
-Hot glue gun/glue sticks (use the hot melt type)
-Paint brush
-Water basin
-White paint glass paint (I used Americana Multi-Surface Satin)
-Black acrylic paint
-Glue stick
-Scissors
-Super glue
-Stylus or skewer
-Glitter
-Liquid varnish
-Spray varnish
Directions:


1. Remove the ornament cap and discard the wire
hanger. Using the black ribbon, loop and tie a double
knot and pull the ribbon through the bottom of the
cap. Using the hot glue, you will add a
dot of glue on the knot to be sure it doesn’t pull through. Next, hot glue the cap to the ornament. Be sure not to get excess hot glue on the outside of the cap.
2. Paint the entire ornament white. Set aside to dry.

4. To create the hat, take the black cardstock and cut a 1" x 3" strip. Using the punches, punch two "brims" by first punching out the center hole with the smaller round punch. Then center that hole in the middle of the larger round punch and punch out. Save the two inside brim pieces for a hat top.

4. Next, cut notches or tabs along the long edge up 1/4" and fold up.

5. Using the glue stick, glue the
strip ends together and create a tube that will fit into the inner hole in one
of the brim pieces. TIP: Roll up the strip and put through the
hole. Let the roll expand until it fits
the hole and then glue the ends. Slide one punched brim over the tube until it meets the folded up notches.


6. Glue the cut tabs under one
brim then finish up the brim by gluing the other piece over it. (hiding the snipped
ends).

5. With hot glue, glue on the red glitter ribbon hat band. Next place the hat over the cap of the ornament. It should fit snug. If it's too tight, you may have gotten hot glue on the outside of the cap. Clean off with a craft knife if so.
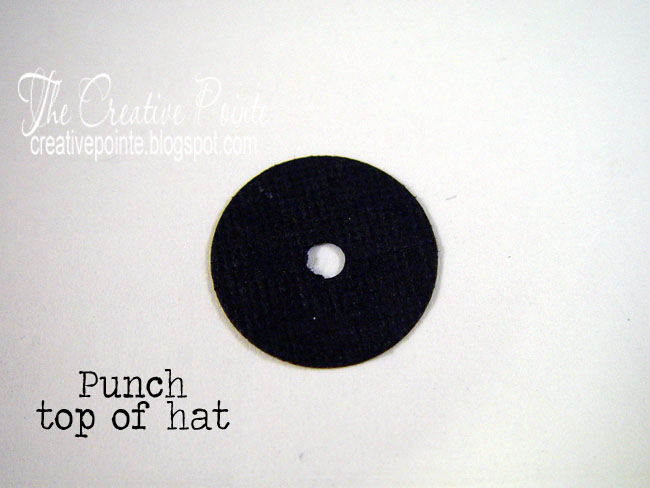
6. Using one of the inside brim punches that you've saved, punch a 3 mm hole in the center. Then thread the black hanging ribbon through that hole and push the hat top down.

With the glue gun, run a bead inside of the
hat then pressing
the top into that hot glue so that it lines up with the top of the hat.
7. If making the nose from clay, condition, roll, shape and bake your nose. Once done, glue the nose to
the ornament with Super Glue.

7. Use a stylus or skewer to dip dot on the eyes and mouth with black paint. Be sure to add the sparkle in the eyes with white paint!
8. Varnish the entire ornament except around the face. While varnish is still wet, sprinkle on glitter. Let dry completely then take outside and spray varnish to set the glitter.
Hang and enjoy!
No comments:
Post a Comment